Generating images with ComfyUI + Flux
- Jul 16, 2025
- 3 min read
Updated: Jul 17, 2025

Not trying to reinvent the wheel here as all of the knowledge acquired is available on the internet. Specially helpful are YouTube channels like @pixaroma, with easy to understand videos and available ComfyUI workflows for each one of them, and all for free! Kudos to him!
Following with the previous post, we need to take control of the tools AI offers and integrate them into our own workflows. That's what ComfyUI allows us to do through its nodal interface, making it possible to customize image generation. Generally speaking, and again this is nothing new, I have split image generation into three main categories:
Generators: when we generate images purely based on prompts. We could include images generated with prompts and some extra ControlNet constraints like canny or depth, as they only guide the volumetric composition, but have no influence on color and atmosphere.
Enhancers: we use a base image to get variations or generate a better-quality image. To have an extra layer of control, these enhancements can be guided as well by ControlNet.
Upscalers: technically speaking, these could be enhancers as well, but as they serve such a specific purpose, I like to keep them in an independent category. An upscaler helps us reach the needed resolution while at the same time adding fine details.
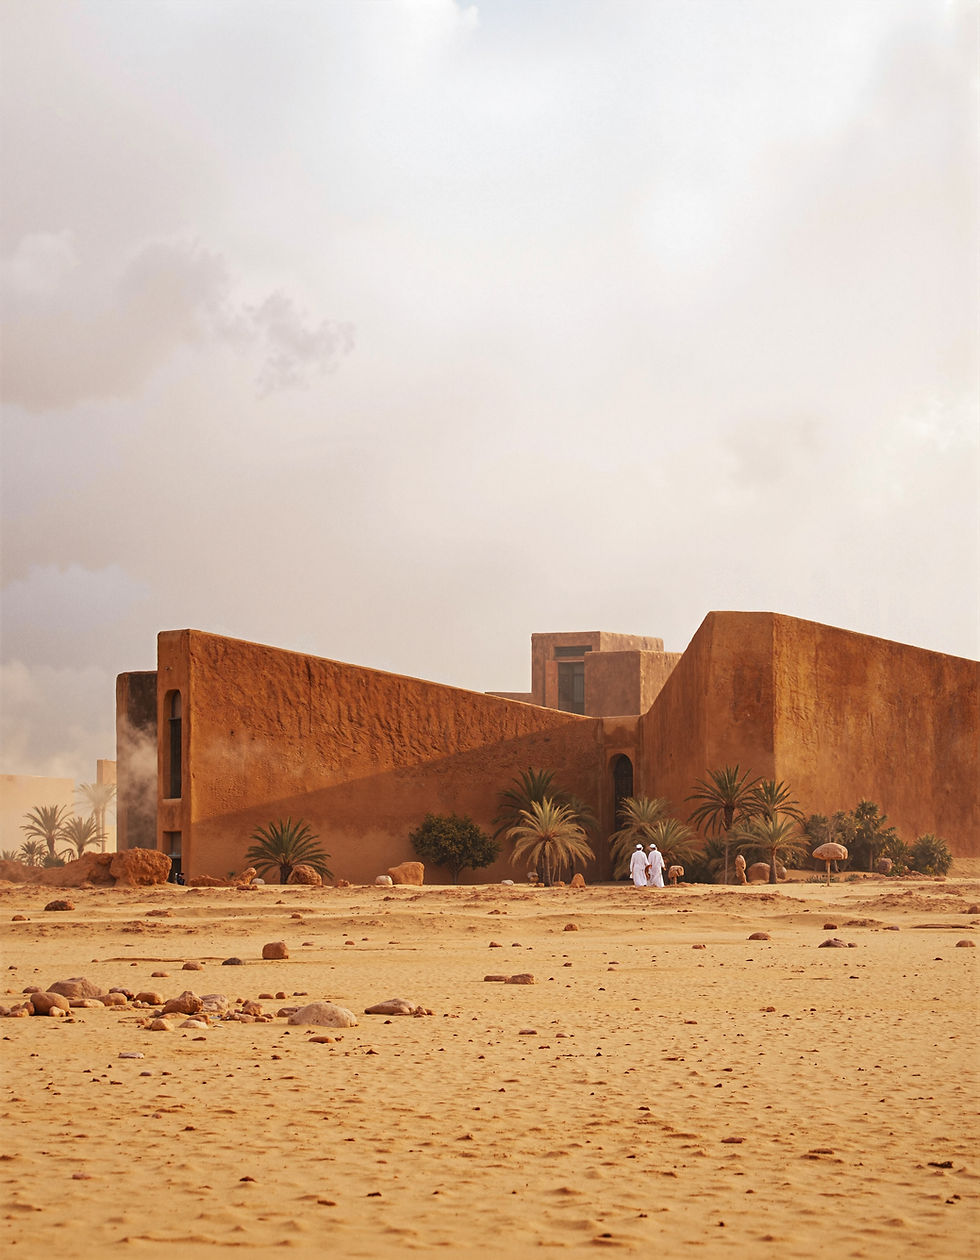
Let's break down how we produced the front-page image and how the three main categories previously mentioned were used. We'll start with a purely prompt generated image:
"An exterior photography, in a forest, overcast, moody atmosphere, with dense fog. Zoom lens. We see a hint of a monolithic cabin, made of green trapezoidal blocks of coated steel, delicate geometry. The trees cover the scene, so we do not see the sky. The dense fog frames the building. The composition shows a blurred foreground, made out of shrubs. The building is framed with trees, and the fog helps give a nice sense of depth. We only see a chunk of the building, focusing on details. The image is very realistic, and color variations are very subtle. Cold feeling. DSLR, long range lens." (prompt)
+
" Landscape photography, vast vistas, natural beauty, dynamic compositions, captivating scenery, immersive, serene, architecture photography, striking structures, clean lines, geometric shapes, dramatic angles, play of light and shadow, capturing architectural details, showcasing design elements, evoking mood, professional lighting, precise compositions, emphasizing scale and proportion, creating depth, architectural storytelling, capturing iconic landmarks, immersive experience." (style)

We generated a total of 36 images and picked only one. Some of them were OK to use as mood and color references, but they were not consistent enough, or the composition wasn't appealing. This gives us an idea of the randomness we face with purely prompt generated images. To be able to generate usable solutions, we need to be able to generate large sets of images, and regenerate iterations of the best ones, and this is one of the biggest advantages of ComfyUI.
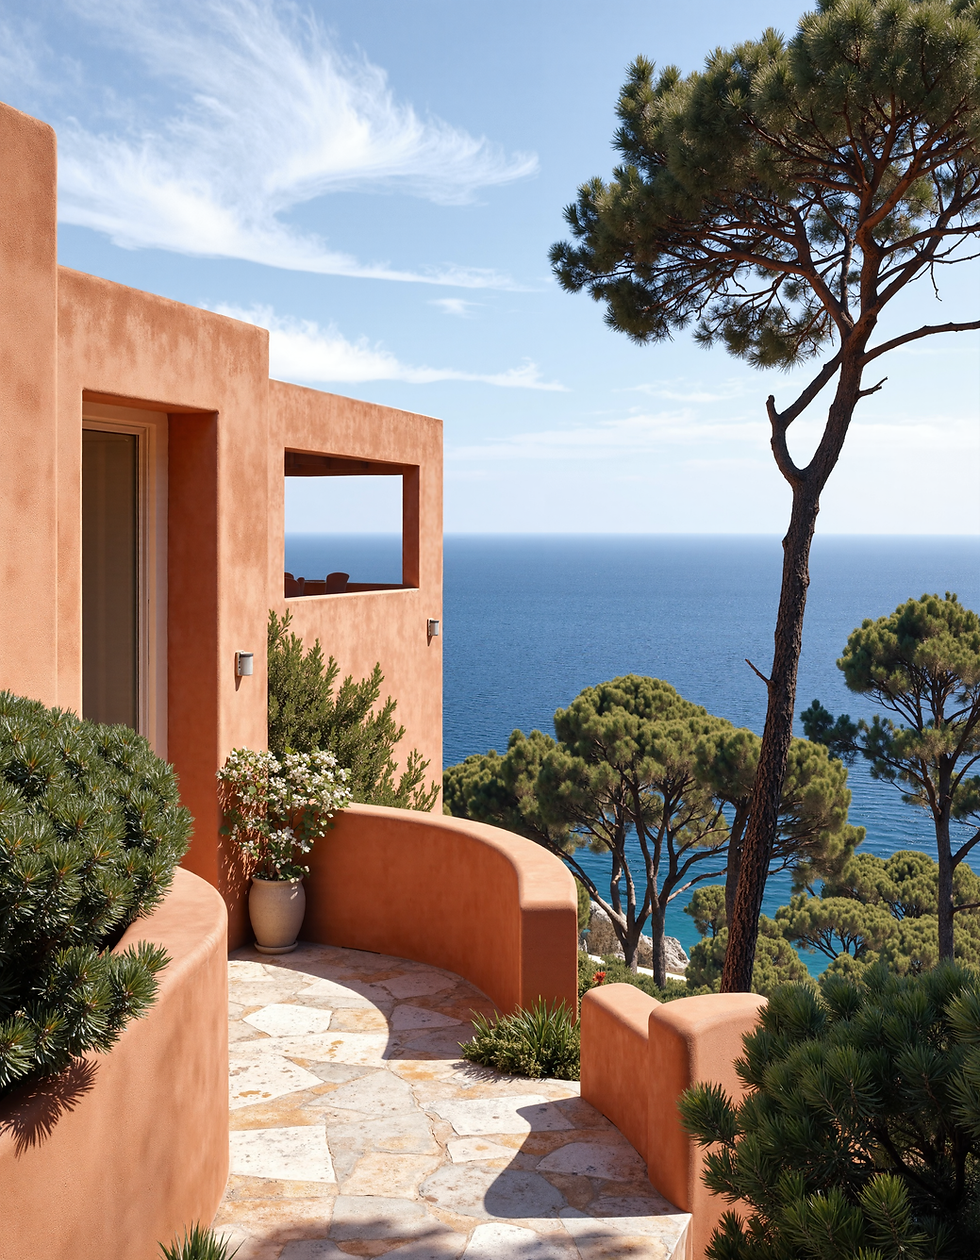
The next step is to enhance our result. While these models are great with organic elements, architecture consistency is still a challenge. That means volumetric integrity, perspective accuracy and usability still lack consistency. As the model will rarely sort out these issues, I do quick photoshop edits to give the architecture more sense. Once the image has been edited, I run it again through an enhancement workflow, that introduces noise into the image and regenerates it again. This method allows for quick edits and leaves the refining job to the AI model. Here's a detail on how our image has been enhanced.

Once our image has been enhanced, we face a new challenge: resolution. Images produced generally lack the detail and resolution to be production ready, so there's a last step we need to follow: upscale. As we usually generate images between 1K and 2K, we'll need a one-step enhancer to reach 4k. We could add an extra step to 8k, but 4k is usually enough.

In a future post, I'd like to dig into adding constraints to the image generation, with canny and depth ControlNet that will allow us to have greater control of our outputs.